wildlife
Bird Feeder
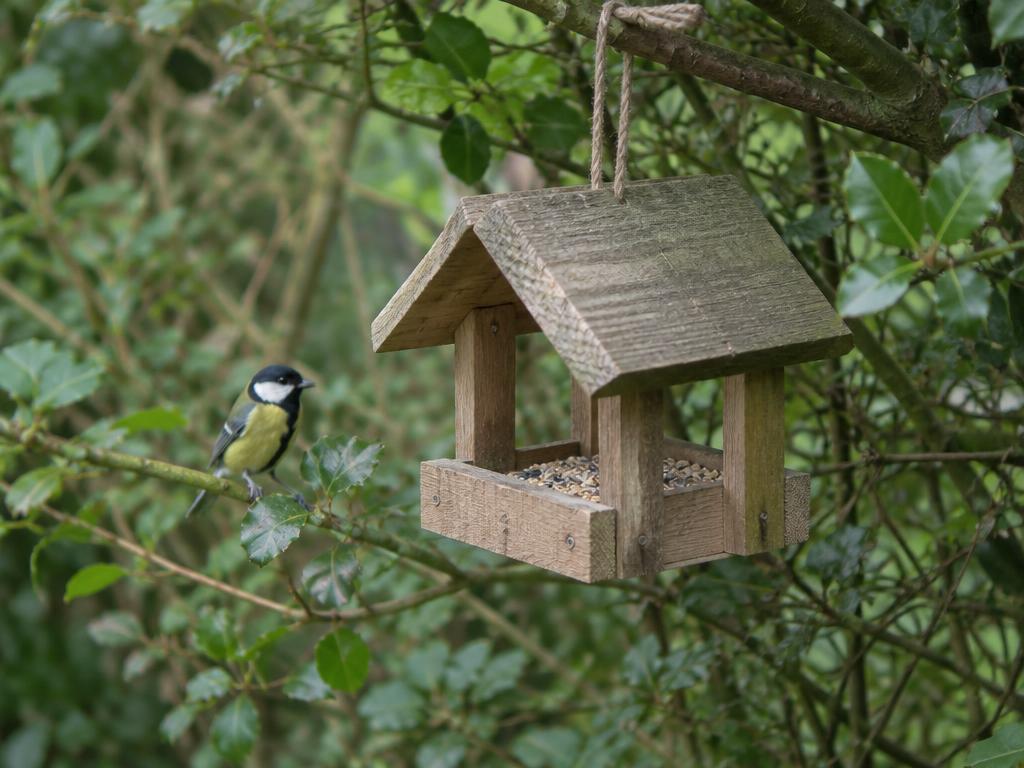
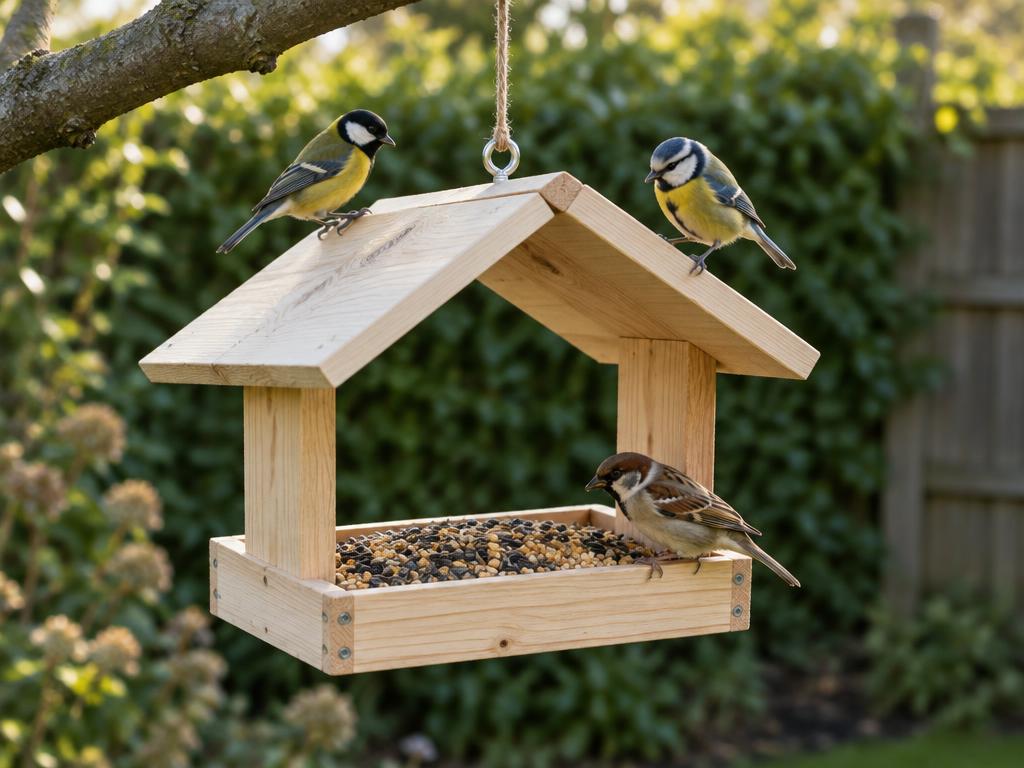
A small hanging feeder with a tray and simple roof.
- Skill
- Beginner
- Tools
- Hand saw, Drill/driver
- Piece length
- Short offcuts are fine
- Location
- Outdoor
- Carries weight
- No
- Pallet wood
- Suitable with care
Suits this scrap wood
Why: it's built from small pieces, so offcuts are ideal.
Best
Small offcuts, Mixed scraps, Old / reclaimed timber
Also works
Pallet boards, Plywood, Long boards / offcuts
Materials & finish
- Exterior screws
- Cord or chain for hanging
Finishes that suit it
Rustic, Functional
Safety notes
- Birds peck at the wood — avoid treated, painted or contaminated timber.
- Leave the inside unfinished.
Reference build
- Overall size
- approx. 30 × 20 × 25 cm tall (12 × 8 × 10 in), including the roof
- Time
- 1–2 hours
- Skill
- Beginner
Reference stock: boards about 18 mm thick, plus a few thin strips (about 20 × 20 mm) for the tray lip. Use untreated, unpainted wood only.
Cut list
| Part | Qty | Length | Notes |
|---|---|---|---|
| Base (tray) | 1 | 250 × ~150 mm (~10 × 6 in) | One wide board, or two narrow ones edge to edge |
| Tray lip, long | 2 | 250 mm | ~20 × 20 mm strip |
| Tray lip, short | 2 | ~100 mm | Leave ~10 mm gaps at the corners for drainage |
| Uprights | 2 | 200 mm (~7⅞ in) | ~45 mm wide; top end cut to a point (two 45° cuts) |
| Roof panels | 2 | 300 × ~120 mm (~12 × 4¾ in) | Overhang the tray to keep seed dry |
Hardware
- About 20 exterior screws, 30–40 mm
- 1 screw eye (or 2) and cord or light chain for hanging
- No finish inside or on the tray
Step-by-step
- Check the wood. Use clean, untreated, unpainted offcuts. Birds peck the surface, so no pressure-treated timber, old paint or oily workshop scraps.
- Make the tray. If you're joining two narrow boards for the base, screw a strip across the underside to hold them together.
- Drill drainage holes. Drill 4–6 holes of 5–6 mm through the base so rainwater doesn't rot the seed.
- Fit the lip. Screw the lip strips around the top edge of the tray, leaving small gaps at the corners so water runs off.
- Shape and fix the uprights. Mark the centre of the top of each upright and cut 45° each way to form a point. Screw an upright to the centre of each short end of the tray, from underneath the base, two screws each.
- Fit the roof. Rest one roof panel on the angled tops so it overhangs evenly, and screw it down into both uprights. Butt the second panel against the first at the ridge and screw it on.
- Hang it. Fit a screw eye into the ridge (pre-drill it), or one eye into each roof panel for a two-cord hang that swings less. Hang it about 1.5–2 m off the ground, away from cover where cats can hide.
Adapting it to your scraps
- Thin plywood (6–9 mm) makes a good roof, but avoid it for the tray because it delaminates when wet.
- No strips for the lip: rip a thin edge off any board, or use a slice of dowel.
- Smaller offcuts only: shrink everything proportionally. A 15 × 10 cm tray still works for small birds.
- Want it freestanding instead? See the Bird Table project.
Common mistakes
- No drainage holes, which leads to soggy, mouldy seed within a week.
- Using treated or painted wood "because it lasts longer". It's not safe for birds.
- A roof that doesn't overhang. Rain blows in and soaks the tray.
- Screwing too close to the edge of the uprights. Pre-drill, because the pieces are small and split easily.
FAQ
What wood is safe for a bird feeder?
Untreated softwood or hardwood with no paint, stain or preservative. Cedar, pine and most clean offcuts are fine. Avoid pressure-treated timber and anything that's been in contact with oil or chemicals.
Should I paint or varnish my bird feeder?
Leave the tray and the inside bare. If you want colour, use a water-based, non-toxic exterior finish on the outside of the roof only, and let it cure fully before use.
How do I keep squirrels off it?
Hang it from a thin wire or branch at least 2–3 m from anything they can jump from. A baffle above it helps.
Not sure it fits your wood?
Answer six quick questions and we'll check it against what you actually have.
Try the selector