garden
Garden Planter Box
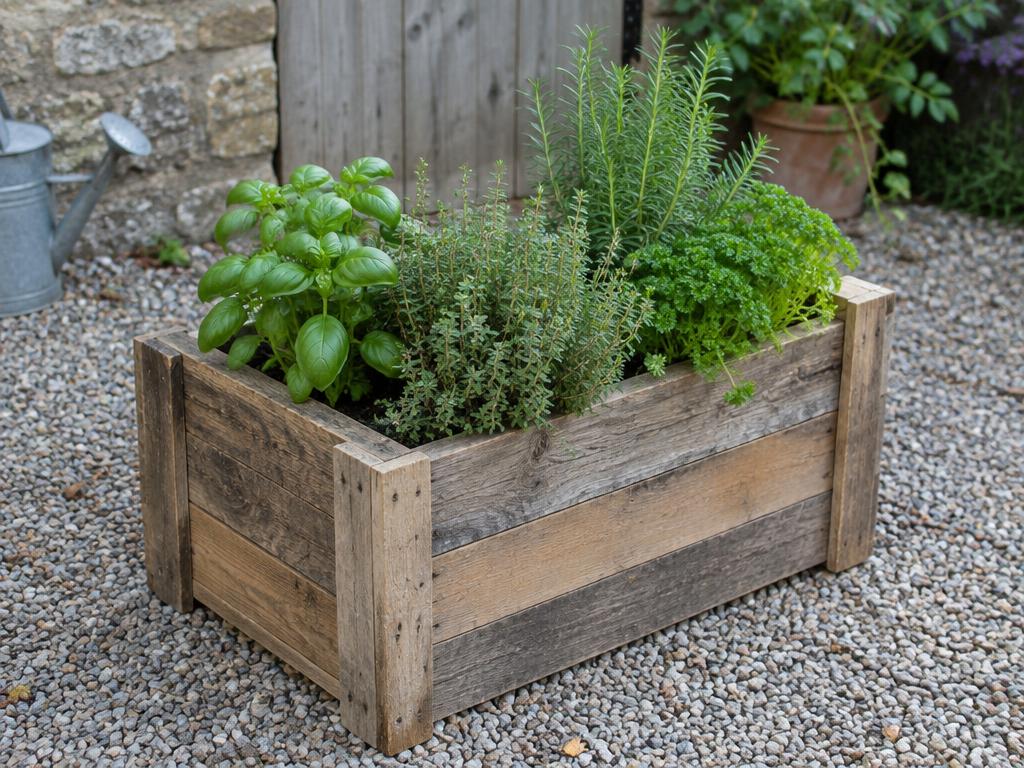
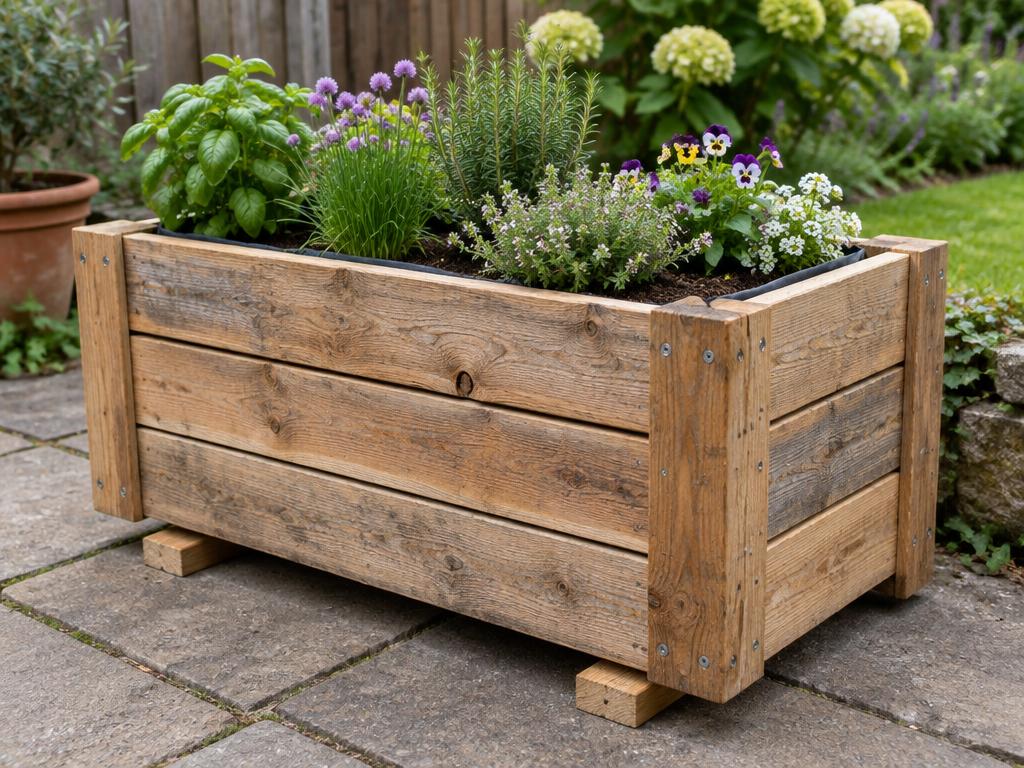
A sturdy freestanding planter for the patio.
- Skill
- Beginner
- Tools
- Hand saw, Drill/driver
- Piece length
- Medium lengths (roughly 50cm+)
- Location
- Outdoor
- Carries weight
- No
- Pallet wood
- Suitable with care
Suits this scrap wood
Why: rough, weathered boards suit a planter that lives outside anyway.
Best
Pallet boards, Long boards / offcuts, Old / reclaimed timber
Also works
2×4 / framing lumber, Mixed scraps, Small offcuts
Materials & finish
- Exterior screws
- Planter liner
- Corner posts (offcut 2×2 or 2×4)
Finishes that suit it
Rustic, Functional
Safety notes
- Outdoors, untreated softwood will weather — an exterior finish extends its life.
- For vegetables, line it and avoid timber of unknown treatment.
Reference build
- Overall size
- approx. 64 × 30 × 29 cm (25 × 12 × 11½ in)
- Time
- 2–3 hours
- Skill
- Beginner
Reference stock: boards about 18 mm thick × 95 mm wide (typical pallet or fence board), and 45 × 45 mm (2×2) offcuts for the posts and cleats. Your boards will differ, so treat every number as a starting point. Everything is measured from your own pieces.
Cut list
| Part | Qty | Length | Notes |
|---|---|---|---|
| Long side slats | 6 | 600 mm (~23⅝ in) | 3 per side |
| Short side slats | 6 | 300 mm (~11¾ in) | 3 per end; this sets the overall width |
| Corner posts | 4 | ~285 mm (~11¼ in) | Cut to the height of 3 stacked slats; measure yours |
| Base cleats | 2 | 510 mm (~20 in) | 2×2 offcut; fits between the posts |
| Base slats | 5 | 260 mm (~10¼ in) | Measure the inside width and subtract 3–4 mm |
Hardware
- About 50 exterior screws, 40–50 mm (1½–2 in)
- Planter liner or heavy plastic sheet, plus a stapler
- Optional: exterior wood oil or stain (outside faces only for edible planting)
Step-by-step
- Prepare the boards. Pull all nails, knock off loose splinters and check for stamps if you're using pallet wood. Use boards marked HT (heat treated) and avoid MB (methyl bromide) or unmarked boards of unknown origin.
- Cut the slats and posts. Cut the long and short slats. Stack three slats on edge, measure the total height, and cut the four posts to that length.
- Build the two long sides. Lay three long slats face down, edges touching. Place a post across each end, flush with the slat ends and the top and bottom edges. Pre-drill and drive two screws per slat into each post.
- Join the sides with the short slats. Stand both long sides up, posts facing inward. Screw the short slats across the ends so they cover the end grain of the long slats, with two screws per slat into the post behind. Check the box is square by measuring both diagonals; they should match.
- Fit the base cleats. Screw a cleat along the inside bottom edge of each long side, between the posts, flush with the bottom.
- Drop in the base slats. Lay the base slats across the cleats, leaving 5–10 mm gaps for drainage. Screw each one down into the cleats. The small gaps beside the posts at each end can be left open, because the liner covers them.
- Line it. Staple the liner up the inside walls, but not over the base. Poke drainage holes through the liner where it sits on the base, or leave the base unlined and line the walls only.
- Finish (optional). Oil or stain the outside faces only. Lift the planter off the ground on two offcut battens so the base can dry out.
Adapting it to your scraps
- Shorter boards: shrink the long slats. Anything down to about 40 cm still makes a useful herb box.
- Narrower boards: add a fourth row of slats and cut the posts to match.
- Thicker boards (25 mm+): use 50–60 mm screws, and the box will last longer.
- No 2×2 for posts: rip a thick board in half, or screw two board offcuts together face to face.
- Mismatched slat widths: put the widest slats at the bottom. Nobody will notice.
Common mistakes
- Skipping pre-drilling near board ends, which splits pallet wood almost every time.
- Making the base slats tight against the sides. Wet wood swells, so leave a few millimetres.
- Setting the planter straight on soil or paving. Raising it even 2 cm adds years to its life.
- Overfilling a large box. Wet soil is heavy, so above 60 cm long, add a cross-brace or a centre post on each long side.
FAQ
Can I use pallet wood for a vegetable planter?
Yes, if the pallet is stamped HT (heat treated). Avoid MB-stamped or unmarked pallets, and line the walls so soil isn't in direct contact with the wood.
How long will an untreated scrap-wood planter last?
Typically 2–4 seasons for softwood, depending on climate. Lining the walls, raising the base off the ground and oiling the outside faces all extend it.
Do I need a liner?
Not strictly, but it slows rot considerably. Leave the base unlined or perforated so water can drain.
Not sure it fits your wood?
Answer six quick questions and we'll check it against what you actually have.
Try the selector