storage
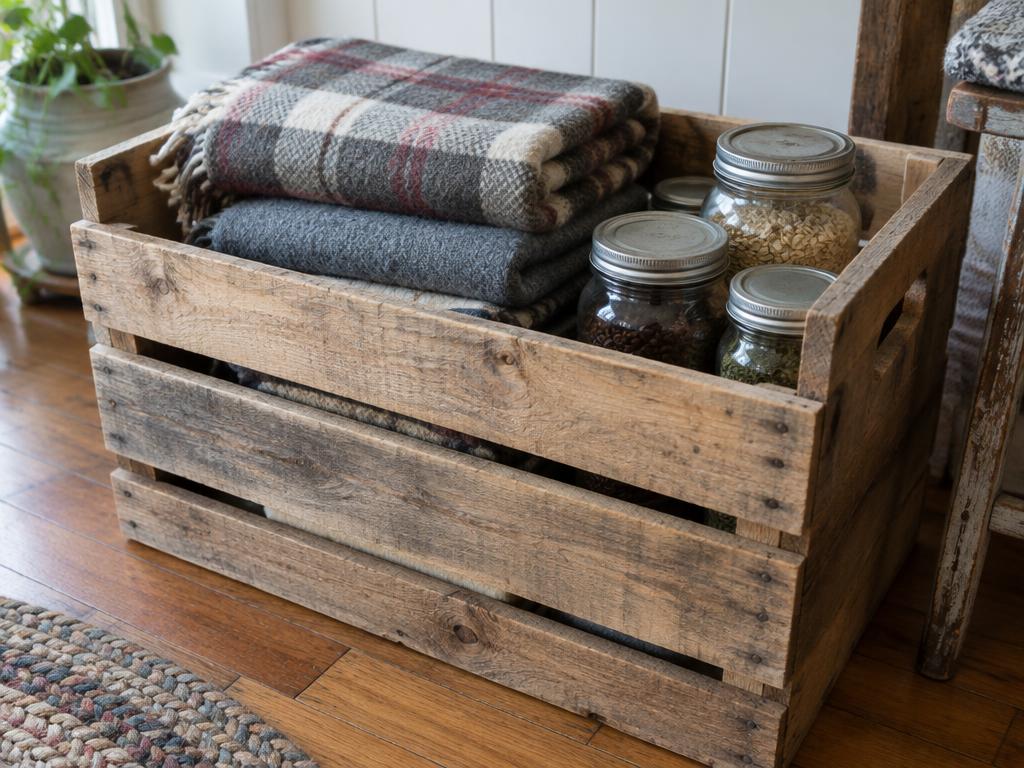
Scrap-Wood Storage Crate
A slatted crate to organise — fittingly — your scrap wood.
- Skill
- Beginner
- Tools
- Hand saw, Drill/driver
- Piece length
- Medium lengths (roughly 50cm+)
- Location
- Indoor
- Carries weight
- No
- Pallet wood
- Suitable with care
Suits this scrap wood
Why: pallet slats are the classic crate material.
Best
Pallet boards, Long boards / offcuts, Mixed scraps
Also works
Old / reclaimed timber, 2×4 / framing lumber, Small offcuts
Materials & finish
- Screws or nails
Finishes that suit it
Rustic, Functional
Safety notes
No special concerns beyond normal tool safety and removing old nails.
Using pallet wood? Check the stamp first →Reference build
- Overall size
- approx. 54 × 30 × 33 cm (21 × 12 × 13 in)
- Time
- 1½–2 hours
- Skill
- Beginner
Reference stock: boards about 18 mm thick × 95 mm wide, and 45 × 45 mm (2×2) offcuts for the corner posts
Cut list
| Part | Qty | Length | Notes |
|---|---|---|---|
| Long side slats | 6 | 500 mm (~19¾ in) | 3 per side |
| Short side slats | 6 | 300 mm (~11¾ in) | 3 per end; this sets the overall width |
| Corner posts | 4 | ~325 mm (~12¾ in) | 3 slats plus two ~20 mm gaps; measure yours |
| Base slats | 5 | 300 mm (~11¾ in) | Screwed underneath, across the width |
Hardware
- About 60 screws, 40 mm (or 50 mm ring-shank nails if you prefer)
- Two ~20 mm offcuts to use as spacers while building
Step-by-step
- Prepare the boards. De-nail and sand off the worst splinters, especially on the inside edges you'll grab.
- Cut everything. Cut the long and short slats and the base slats. Work out the post length as 3 slat widths plus 2 gaps, then cut the four posts.
- Build the long sides. Lay a post at each end, then screw on the bottom slat flush with the post ends. Use the spacers to set the gap, add the middle slat, then the top slat flush with the post tops. Use two screws per slat per post, pre-drilled.
- Add the ends. Stand the long sides up, posts facing inward. Screw the short slats across the ends, using the same spacer gaps, so they cover the end grain of the long slats.
- Square it up. Measure both diagonals across the top before the screws are all fully tight, and nudge the crate until the diagonals match.
- Fit the base. Flip the crate over. Screw the base slats across the bottom edges into the posts and the edges of the long slats, spaced evenly. The gaps let dust and shavings fall through.
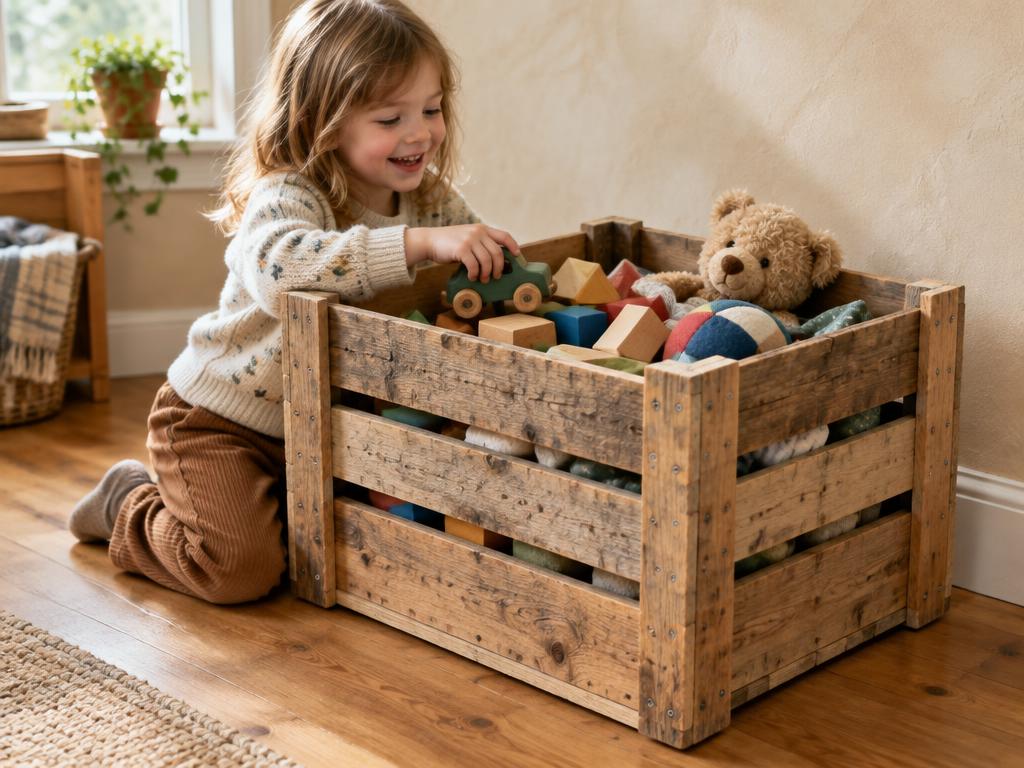
- Handles. The gap under the top slat at each end is your hand-hold. Sand it smooth. For a proper handle, drill two 25 mm holes about 8 cm apart in the top end slat and saw out the waste between them.
Adapting it to your scraps
- Lots of short pieces: build a smaller crate. 40 × 25 cm is still handy for offcut storage.
- Mixed widths: vary the gap so the rows still meet the post tops. An uneven slat pattern looks fine on a crate.
- Heavy contents (e.g. hardwood offcuts): use a solid plywood base instead of slats, and add 2×2 cleats inside along the long sides to carry it.
- Stackable: add a 2×2 batten across each end inside the top rim so a second crate sits on it without sliding.
Common mistakes
- Assembling out of square, so the crate rocks or won't stack. Check the diagonals.
- Gaps wider than about 25 mm. Small offcuts fall straight through.
- Nailing pallet wood near the ends without pre-drilling. It splits.
- Leaving old nail stubs in the boards, which snag hands and scratch floors.
FAQ
What's the easiest way to store scrap wood?
Sort it by length. Long pieces go upright in a bin or against a wall, and short offcuts go in a crate like this one. Throw out anything shorter than your hand. You won't use it.
Can I use nails instead of screws?
Yes. Ring-shank or annular nails hold well, and gluing the joints helps too. Screws are easier to correct if you make a mistake.
How do I make it stronger?
Use a plywood base, glue every joint, or add a centre post on each long side if the crate is longer than 60 cm.
Not sure it fits your wood?
Answer six quick questions and we'll check it against what you actually have.
Try the selector