workshop
Tool Rack
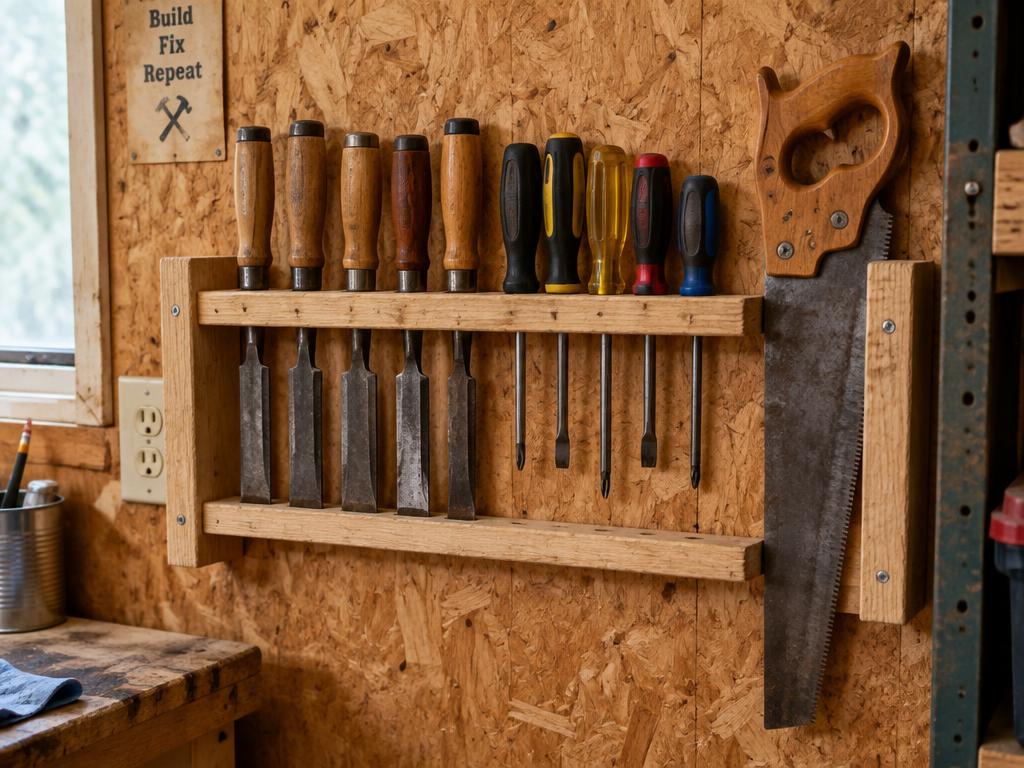
A wall rack for chisels, screwdrivers and saws.
- Skill
- Beginner
- Tools
- Hand saw, Drill/driver
- Piece length
- Medium lengths (roughly 50cm+)
- Location
- Indoor
- Carries weight
- No
- Pallet wood
- Suitable with care
Suits this scrap wood
Why: rough offcuts are fine — nobody inspects a tool rack.
Best
2×4 / framing lumber, Small offcuts, Mixed scraps
Also works
Pallet boards, Plywood, Old / reclaimed timber, Long boards / offcuts
Materials & finish
- Screws
- Wall fixings
Finishes that suit it
Functional, Rustic
Safety notes
No special concerns beyond normal tool safety and removing old nails.
Using pallet wood? Check the stamp first →Reference build
- Overall size
- 600 mm wide × ~95 mm deep (~24 × 4 in)
- Time
- 1–2 hours
- Skill
- Beginner
Reference stock: two boards about 18 mm thick × 95 mm wide, plus offcuts for two triangular braces
Cut list
| Part | Qty | Length | Notes |
|---|---|---|---|
| Back board | 1 | 600 mm (~24 in) | Screws to the wall |
| Tool strip (top) | 1 | 600 mm (~24 in) | The drilled shelf the tools hang through |
| Braces | 2 | ~90 × 90 mm triangles | Cut from one offcut square, corner to corner |
Hardware
- 6–8 wood screws, 40 mm, for the assembly
- 3–4 wall fixings to suit your wall (see the Simple Shelf page for wall types)
- Drill bits or spade bits: 10, 12, 16, 20 and 25 mm, depending on your tools
Step-by-step
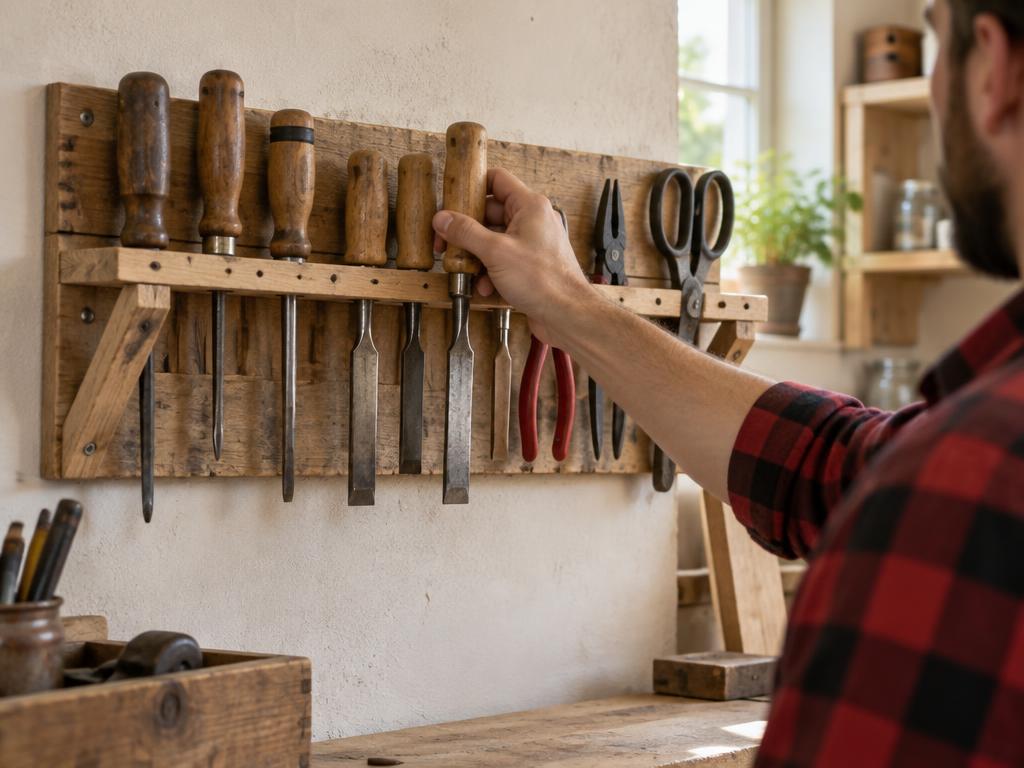
- Lay out your tools first. Put the tools you'll hang on the tool strip and space them so handles don't clash. Hole centres 40–50 mm apart suit most screwdrivers. Larger handles need 60–70 mm.
- Mark the hole line. Draw a line about 55 mm from the back edge of the strip, so the handles clear the wall once the strip is mounted.
- Size each hole to the shaft, not the handle. As a guide, use 10–12 mm for small screwdrivers, 16 mm for larger ones, and 20–25 mm for chisels and files. For chisels, drill two holes side by side and saw out between them to make a slot.
- Drill the holes. Clamp a scrap board underneath to stop breakout. Drill all the holes before assembly, while the strip is flat.
- Pliers and scissors. Cut a few slots from the front edge of the strip, about 15–20 mm wide and 40 mm deep, so pliers can hang by their hinge.
- Join the strip to the back board. Butt the strip onto the top edge of the back board at 90°, flush at the back, and screw down through the strip into the board's edge (pre-drill).
- Fit the braces. Glue and screw a triangle under the strip at each end, against the back board. They stop the strip drooping under weight.
- Mount it. Drill and fix the back board to the wall with 3–4 fixings along its length, level, at a height where you can reach the handles easily.
Adapting it to your scraps
- No spade bits: drill one small hole, then saw two cuts in from the front edge to the hole to make an open slot. That's quicker, and it works well for chisels.
- Saws and squares: screw a couple of 20 mm dowels or offcut pegs into the back board below the strip, angled slightly upwards.
- Pegboard-style: drill a grid of 20 mm holes in a larger board and push in short dowels wherever you need them.
- Short offcuts only: make two 300 mm racks instead of one long one.
Common mistakes
- Drilling holes too close to the wall, so handles hit the back board and tools hang crooked.
- Holes too big. The tool should drop through to its handle and stop, not fall through.
- Skipping the braces. The strip slowly sags at the front.
- Chisels stored edge-down with no slot or holder, which damages the cutting edges.
FAQ
What size holes for a screwdriver rack?
Size the hole to the shaft plus a couple of millimetres. 10–12 mm suits most small screwdrivers, 16 mm suits large ones, and the handle stops it falling through.
How do I store chisels safely?
Use slots or holes in a strip so they hang edge-down without touching anything. Keep blade guards on if you have them.
Can I build this without power tools?
Yes. Cut open slots in from the front edge with a hand saw instead of drilling holes, and screw it together with a hand screwdriver.
Not sure it fits your wood?
Answer six quick questions and we'll check it against what you actually have.
Try the selector